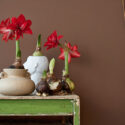
Amaryllis flowers are a showstopper in any home, and with simple amaryllis care, you can enjoy their vibrant blooms year after year!
Amaryllis is a popular bulbous plant cherished for its large, trumpet-shaped blooms that add color and beauty to homes and gardens. Native to South America, this tropical plant is often confused with Amaryllis belladonna, which is native to South Africa, but the amaryllis commonly grown today is from the genus Hippeastrum.
Growth habit: Amaryllis grows from a large bulb, which can be planted in the ground or containers. The plant is a perennial, and its bulb can last several years with proper care.
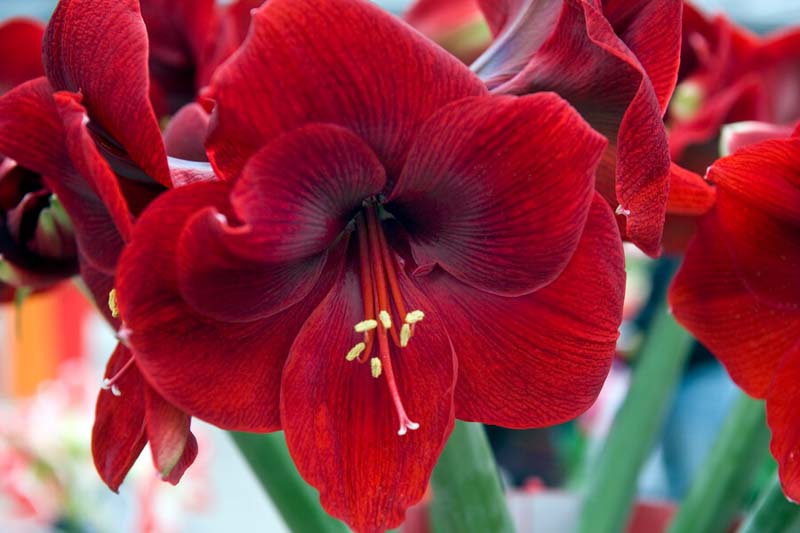
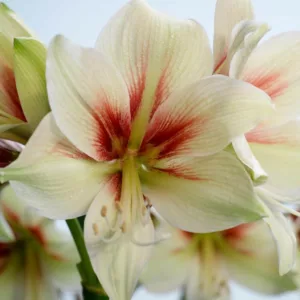
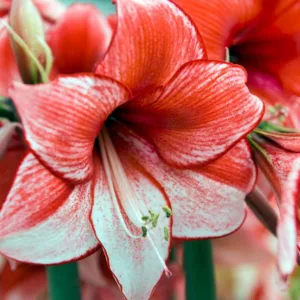
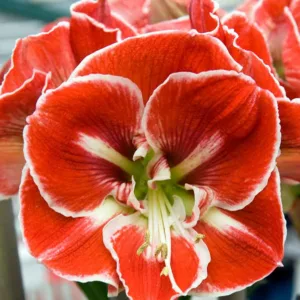
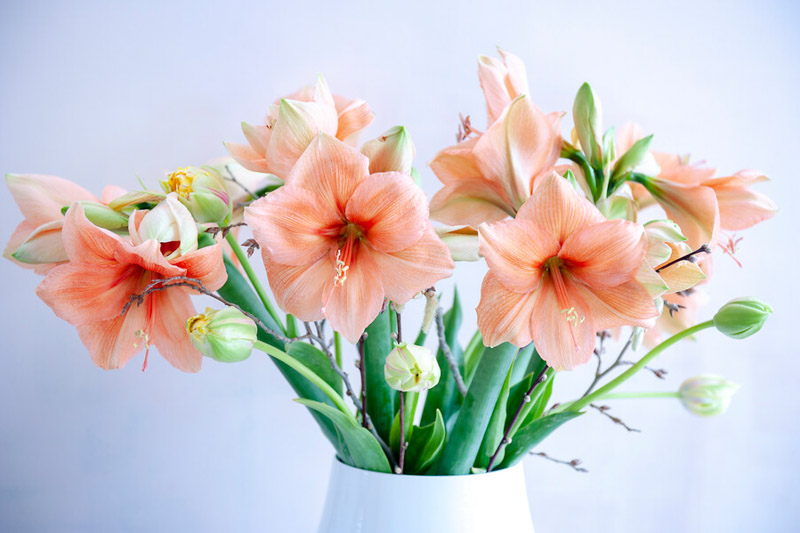
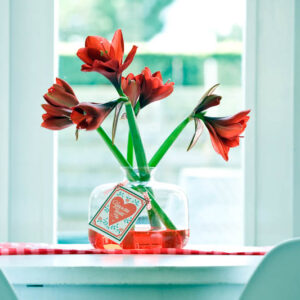
Bloom size: Amaryllis flowers are large, typically measuring 6 and 10 inches (15 and 20 cm) in diameter, making them one of the most striking bulbous plants.
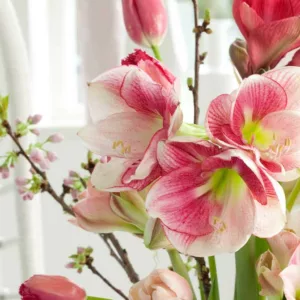
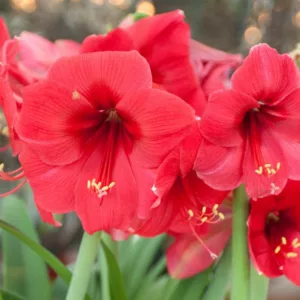
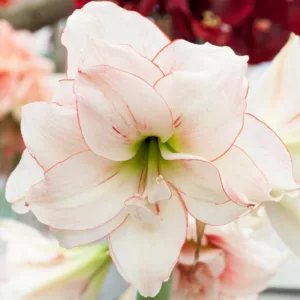
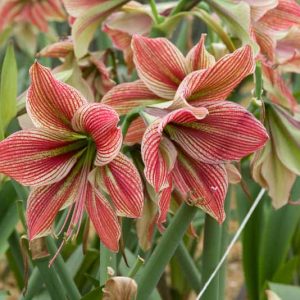
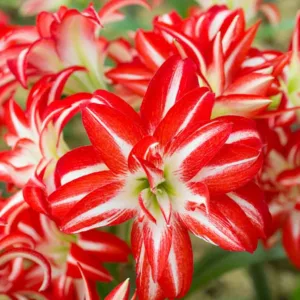
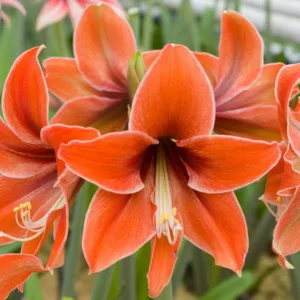
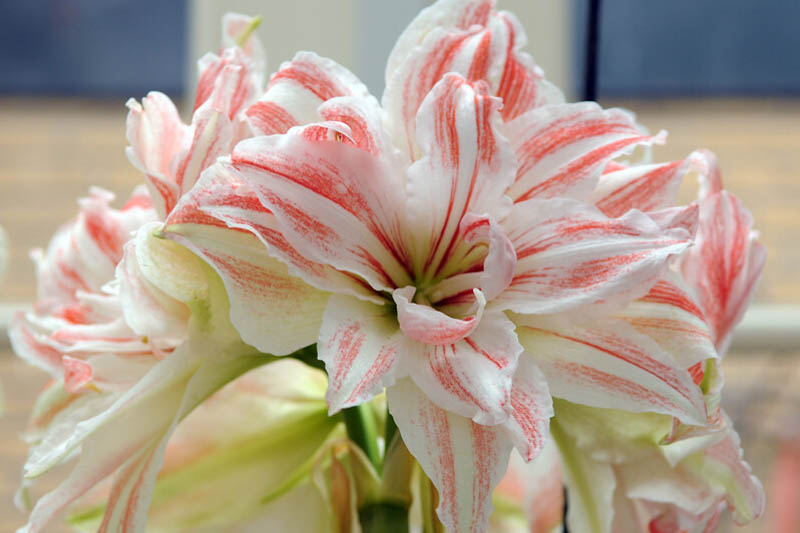
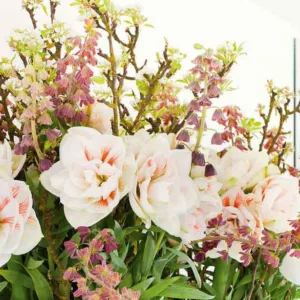
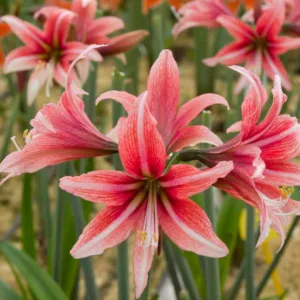
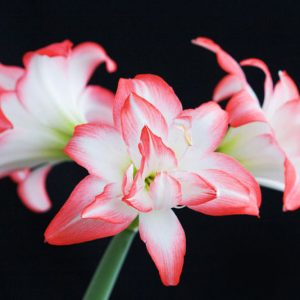
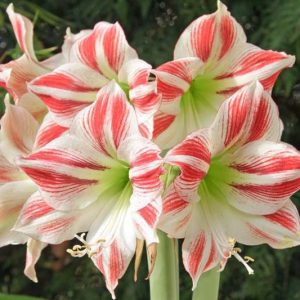
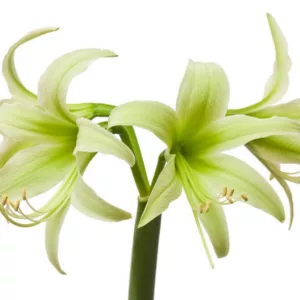
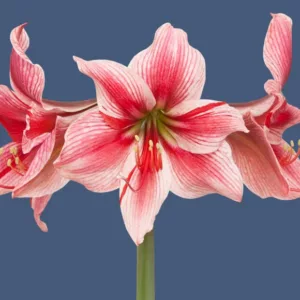
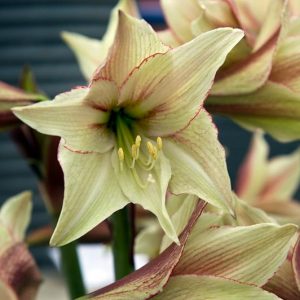
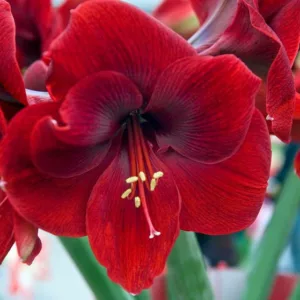
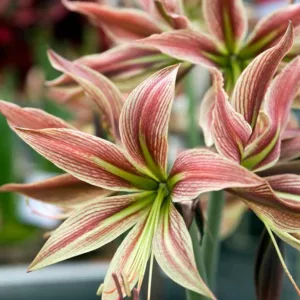
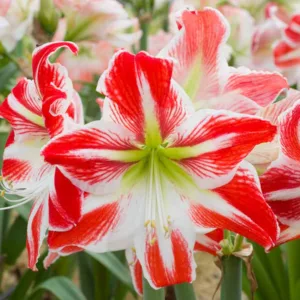
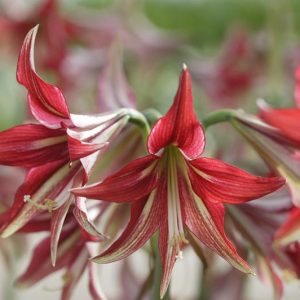
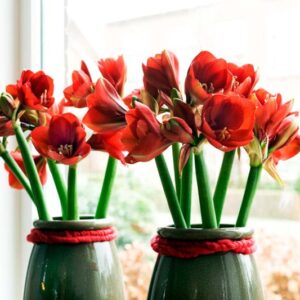
Colors: They come in various colors, including red, pink, white, orange, and various bi-colored combinations, such as red and white or pink and white. Some cultivars also have striped or veined patterns. Popular types of Amaryllis include large flowering, double flowering, and cybister (spider-like petals) varieties.
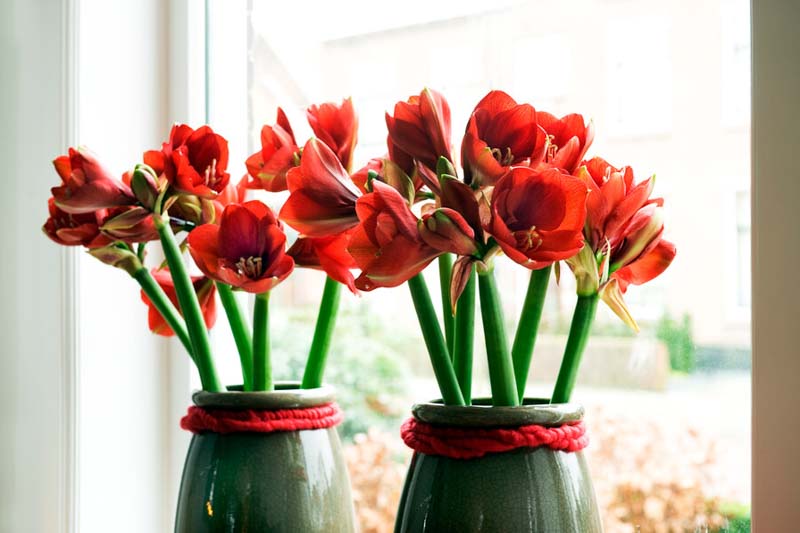
Bloom time: Amaryllis typically blooms in late winter or early spring indoors, often around the holiday season, but can bloom at various times depending on planting. Outdoor varieties bloom in spring or early summer. Each flower lasts two to three weeks, adding vibrant color to any setting.
Flower stalks: A single bulb can produce one to three flower stalks, each bearing two to six flowers. They rise above a rosette of strap-like, glossy green leaves, creating a striking contrast between the lush foliage and the vibrant, elegant flowers.
Height: Depending on the variety and bulb size, amaryllis stems can grow anywhere from 12 to 36 inches (30-90 cm) tall.
Hardiness: Amaryllis is not frost-tolerant and is best suited for USDA hardiness zones 8-11. In colder regions, the bulbs can be grown indoors or dug up and stored over winter to be replanted the following spring.
Toxicity: Amaryllis bulbs are toxic to pets, particularly cats and dogs, and humans if ingested.
Symbolism: Amaryllis symbolizes strength, beauty, and pride and is often used as a gift for celebrations or as a decorative centerpiece during the winter season.
| Hardiness |
8 - 11 |
|---|---|
| Heat Zones |
1 - 12 |
| Climate Zones | 8, 13, 15, 16, 17, 21, 22, 23, 24, H1, H2 |
| Plant Type | Bulbs |
| Plant Family | Amaryllidaceae |
| Genus | Hippeastrum |
| Exposure | Full Sun, Partial Sun |
| Season of Interest | Spring (Early, Mid, Late), Summer (Early), Winter |
| Height | 1' - 3' (30cm - 90cm) |
| Maintenance | Low |
| Water Needs | Average |
| Soil Type | Loam, Sand, Chalk, Clay |
| Soil pH | Acid, Alkaline, Neutral |
| Soil Drainage | Moist but Well-Drained, Well-Drained |
| Characteristics | Showy |
| Tolerance | Deer, Drought, Rabbit |
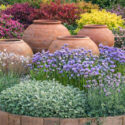
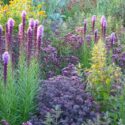
| Landscaping Ideas | Beds And Borders, Patio And Containers |
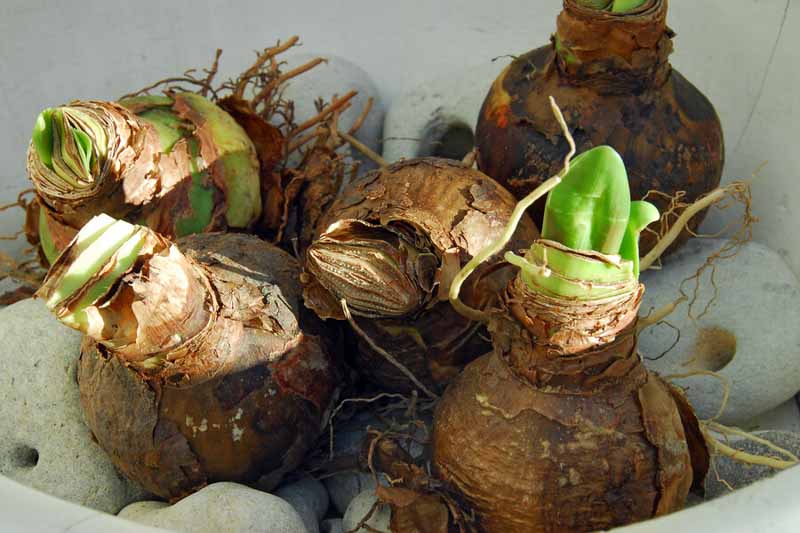
Selecting high-quality amaryllis bulbs is essential for successful growth and beautiful blooms. Here are some tips to help you choose the best Amaryllis bulbs:
Size: Larger bulbs generally produce more stalks and flowers. Look for bulbs with a circumference of at least 4-5 inches (10-12 cm) for the best results. Some jumbo-sized bulbs may have a circumference of 5.5 inches (14 cm) or more and can produce multiple flower stalks.
Firmness: Healthy amaryllis bulbs should be firm and solid when gently squeezed. Avoid bulbs that feel soft, mushy, or have visible signs of rot, as these are likely unhealthy and may not grow well.
Dryness: The outer skin of the bulb should be dry and free of mold or mildew. Bulbs with damp or moldy skin can indicate poor storage conditions and potential health issues.
Intact Basal Plate: The basal plate, the flat part of the bulb where the roots emerge, should be intact and not damaged. A healthy basal plate is essential for proper root development and growth.
No Visible Pests or Diseases: Inspect the bulb for any signs of pests or diseases, such as holes, discoloration, or unusual markings. A healthy bulb should be free of these issues.
Variety: Amaryllis comes in various colors, flower shapes, and sizes. Choose a variety that appeals to you and suits your intended use, whether you plan to grow the plant indoors or outdoors. Find the perfect Amaryllis.
Purchase from Reputable Sources: Buy your Amaryllis bulbs from a trusted nursery, garden center, or online retailer to ensure they are of good quality and have been stored properly.
Waxed amaryllis bulbs are a unique way to grow and display amaryllis flowers without needing soil or water. These bulbs are coated in wax to preserve moisture and provide a self-contained growing environment, which allows the amaryllis to bloom without additional care.
The bulb contains all the nutrients necessary for flowering, and the wax coating prevents moisture loss. If the bulb is kept in a warm, bright spot, it will naturally send up a flower stalk and bloom.
Blooming Cycle: Once purchased, the bulb will typically sprout within a week or two and bloom about 4-6 weeks afterward.
Uses: Waxed amaryllis bulbs are popular as gifts or as part of home decor, particularly around holidays like Christmas, due to their striking flowers and festive look.
Planting amaryllis bulbs is relatively easy, and with proper care, they can reward you with beautiful blooms for years to come. Here’s a step-by-step guide to planting Amaryllis bulbs:
Prepare the pot: Choose a pot with drainage holes that is about 1-2 inches larger in diameter (2-5 cm) than the bulb. Amaryllis bulbs prefer to be snug in their pots. Fill the bottom of the pot with a well-draining potting mix, such as a mix specifically designed for bulbs or a mix of equal parts peat, perlite, and loam.
Plant the bulb: Place the amaryllis bulb in the pot with the pointed end facing upwards. Spread the roots evenly over the potting mix. Fill in around the bulb with additional potting mix, leaving the top third of the bulb exposed above the soil line. Press the soil gently around the bulb to eliminate air pockets.
Water sparingly: Water the potting mix thoroughly, allowing the excess water to drain out of the bottom of the pot. Avoid overwatering, as this can cause the bulb to rot. Allow the soil to dry out slightly between waterings.
Provide light and warmth: Place the potted amaryllis bulb in a warm, sunny location with bright, indirect light. A temperature range of 65-75°F (18-24°C) is ideal for encouraging growth. Rotate the pot regularly to ensure even growth and prevent the flower stalk from leaning toward the light.
Light: Amaryllis plants thrive in bright, indirect light. Place them near a sunny window, but avoid direct sunlight, as this can scorch the leaves.
Temperature: Amaryllis plants prefer temperatures between 65-75°F (18-24°C) during their active growth phase.
Watering: Water your amaryllis when the top inch of the soil feels dry. Be careful not to overwater, as this can cause bulb rot. It’s better to err on the side of slightly dry than too wet.
Fertilizing: Feed your amaryllis with a balanced liquid fertilizer every 2-4 weeks during the active growth phase. Follow the fertilizer package instructions for proper dilution.
When blooming: Move your Amaryllis out of direct sunlight when the flower buds have begun to open.
After your Amaryllis plant has finished flowering, providing the proper care to help it store energy for the next blooming season is essential. Here’s what you should do during the after-flowering care stage:
Remove spent flowers: As the flowers fade, carefully cut off the flower stalks about 1-2 inches (2-5 cm) above the bulb. Be sure not to damage the leaves, as they are essential for the plant’s energy production.
Provide light and water: Place your Amaryllis in a bright, indirect light location and continue to water the plant when the top inch of soil feels dry. Overwatering can lead to bulb rot, so letting the soil dry out slightly between waterings is crucial.
Fertilize: Feed your amaryllis with a balanced liquid fertilizer every 2-4 weeks during the active growth phase. Follow the instructions on the fertilizer package for proper dilution.
Rotate the pot: To encourage even growth and prevent the leaves from leaning toward the light source, rotate the pot regularly.
Keep an eye on temperature: Amaryllis plants prefer temperatures between 65-75°F (18-24°C) during their active growth phase. Avoid placing the plant near cold drafts or heat vents.
Prepare for dormancy: After 8-10 weeks of active growth, your amaryllis will need to go through a period of dormancy to prepare for the next blooming cycle. Gradually reduce watering and allow the leaves to die back naturally. Once the leaves have yellowed and withered, trim them off.
Store the bulb: Place the potted amaryllis in a cool, dark location with temperatures between 50-60°F (10-15°C) for 8-10 weeks. A basement or closet can work well. Do not water or fertilize during this time.
Restart the growth cycle: After the dormancy period, bring the amaryllis back into a warm, sunny location and begin watering sparingly. New growth should emerge within a few weeks, and the plant will start its active growth phase again.
By providing proper care after flowering, your amaryllis plant will have the energy it needs to produce beautiful blooms in the next blooming season.

Amaryllis plants can be grown outdoors in regions with mild climates, usually USDA Hardiness Zones 8-11. When grown outdoors, amaryllis plants can become naturalized in the landscape and bloom every year. Here are some steps to follow when growing amaryllis outdoors:
Choose the right location: Amaryllis plants prefer well-draining soil and a location with bright, indirect light or dappled shade. Avoid planting them in areas with standing water or heavy clay soil, as this can lead to bulb rot.
Prepare the soil: Amend the soil with organic matter, such as compost or well-rotted manure, to improve drainage and fertility. Consider adding coarse sand or fine gravel to the mix if your soil is heavy or clay-like.
Plant the bulbs: Plant amaryllis bulbs in the fall, about 6-8 weeks before the first expected frost in your area. Dig a hole deep enough so that the top third of the bulb will be above the soil line. Space the bulbs about 12-15 inches (30-37 cm) apart to give them room to grow.
Water the bulbs: After planting, water the bulbs thoroughly to help them settle into the soil. Water regularly during the growing season, but be careful not to overwater, as this can lead to bulb rot. Allow the soil to dry out slightly between waterings.
Fertilize: Feed your outdoor amaryllis plants with a balanced slow-release fertilizer or a liquid fertilizer diluted according to the package instructions. Fertilize every 4-6 weeks during the growing season to promote healthy growth and blooms.
Mulch: Apply a layer of organic mulch, such as shredded bark or compost, around the base of the plants to help conserve moisture, regulate soil temperature, and suppress weeds.
Winter protection: In colder climates, you may need to provide some winter protection for your amaryllis plants. In USDA Zones 7 or lower, consider digging up the bulbs in the fall, storing them in a cool, dark location, and then replanting them in the spring after the danger of frost has passed.
By following these steps, you can successfully grow amaryllis plants outdoors and enjoy their beautiful blooms in your garden each year.
Getting amaryllis to re-bloom requires providing proper care during both the active growth phase and the dormancy period. Follow these steps to encourage your amaryllis to produce beautiful blooms year after year:
Post-blooming care: After the plant has finished flowering, cut off the flower stalks about 1-2 inches above the bulb, leaving the leaves intact. These leaves will help the plant produce energy for the next blooming cycle.
Provide light and water: Place your amaryllis in a bright, indirect light location, and continue to water the plant when the top inch of soil feels dry. Be cautious not to overwater, as this can lead to bulb rot.
Fertilize: Feed your amaryllis with a balanced liquid fertilizer every 2-4 weeks during the active growth phase. Follow the instructions on the fertilizer package for proper dilution.
Encourage dormancy: Approximately 8-10 weeks after the plant has finished blooming, gradually reduce watering to encourage dormancy. Allow the leaves to die back naturally. Once the leaves have yellowed and withered, trim them off.
Store the bulb: Move the potted amaryllis to a cool, dark location with temperatures between 50-60°F (10-15°C) for 8-10 weeks. Do not water or fertilize during this time.
Restart the growth cycle: After the dormancy period, bring the amaryllis back into a warm, sunny location and begin watering sparingly. New growth should emerge within a few weeks, and the plant will start its active growth phase again, eventually producing blooms.
By providing proper care and ensuring the plant goes through a dormancy period, you can encourage your amaryllis to re-bloom year after year. Remember that patience is key, as the process from dormancy to flowering can take anywhere from 6 to 12 weeks or even longer.
Amaryllis plants generally don’t need to be repotted very often, as they prefer to be somewhat root-bound. However, it may become necessary to repot your amaryllis every 2-3 years or when you notice that the pot has become too small to support the plant’s growth. Here’s a step-by-step guide on how to repot your amaryllis:
Choose the right time: The best time to repot an amaryllis is after its dormancy period, just before the new growth starts. This usually occurs after 8-10 weeks of dormancy.
Prepare the new pot: Select a pot that is only 1-2 inches (2-5 cm) larger in diameter than the current pot. Make sure the new pot has drainage holes, and partially fill it with a well-draining potting mix, such as a mix specifically designed for bulbs or a mix of equal parts peat, perlite, and loam.
Remove the plant: Carefully remove the amaryllis from its current pot. You may need to loosen the soil around the edges of the pot with a trowel or your fingers. Gently lift the plant out, making sure not to damage the roots or the bulb.
Inspect the roots and bulb: Examine the bulb and roots for any signs of rot, disease, or pests. If you find any damaged or rotten roots, trim them away with a clean, sharp pair of scissors or pruning shears. If the bulb appears in poor health, discarding it and starting with a new one may be best.
Divide offsets, if necessary: If your amaryllis has produced offset bulbs, you can separate them from the mother bulb at this point. Gently pull or cut the offsets away, taking care not to damage the roots.
Repot the amaryllis: Place the amaryllis bulb in the new pot, with the roots spread out evenly over the potting mix. Fill in around the bulb with additional potting mix, leaving the top third of the bulb exposed above the soil line. Press the soil gently around the bulb to eliminate air pockets.
Water the plant: Water the newly potted amaryllis thoroughly, allowing the excess water to drain out of the bottom of the pot. Be cautious not to overwater.
Provide proper care: Place the repotted amaryllis in a warm, sunny location with bright, indirect light, and continue to provide appropriate care during the active growth phase. This includes watering sparingly, fertilizing, and rotating the pot regularly for even growth.
By repotting your amaryllis when necessary, you can ensure that the plant remains healthy and continues producing beautiful blooms for years.
Propagating amaryllis can be done through several methods, including offsets and seeds. While it’s not difficult, each method varies in time and effort required to achieve successful new plants. Here’s a breakdown of how to propagate amaryllis:
This is the easiest and most common way to propagate amaryllis. Offsets, or bulblets, naturally form around the base of the main bulb as it matures.
Propagating from seeds is less common since it can take many years for seedlings to mature and produce flowers. However, this method allows you to potentially create new amaryllis hybrids if you cross-pollinate different varieties.
While amaryllis is a relatively low-maintenance plant, it can still encounter some issues during growth. Here are the most common problems and how to address them:
Amaryllis bulbs can last for many years, often up to 10-15 years or more with proper care. As long as the bulbs are healthy and given the right growing conditions, they can continue to bloom annually, producing beautiful flowers year after year.
After the amaryllis finishes blooming:
Amaryllis bulbs typically bloom once per year, usually during the winter or early spring, depending on when they are planted. With proper care and a dormancy period, amaryllis bulbs can rebloom annually.
Amaryllis symbolizes strength, beauty, pride, and determination. Its bold, towering blooms are often associated with confidence and overcoming challenges, making it a symbol of success and perseverance. The name “amaryllis” itself is derived from the Greek word “amarysso,” meaning “to sparkle,” further reinforcing its association with brilliance and beauty.
Yes, amaryllis bulbs are perennials and will come back every year with proper care. By providing the bulb with the right growing conditions, including a dormancy period, it will continue to produce blooms each year.
The myth of the amaryllis comes from Greek mythology, where a beautiful young girl named Amaryllis fell in love with a shepherd named Alteo. To win his love, she followed an oracle’s advice and pierced her heart with a golden arrow for thirty nights. On the final night, a striking flower bloomed from her heart’s blood, symbolizing her love and determination. This flower was named the amaryllis, embodying the spirit of passionate love, beauty, and perseverance.


| Hardiness |
8 - 11 |
|---|---|
| Heat Zones |
1 - 12 |
| Climate Zones | 8, 13, 15, 16, 17, 21, 22, 23, 24, H1, H2 |
| Plant Type | Bulbs |
| Plant Family | Amaryllidaceae |
| Genus | Hippeastrum |
| Exposure | Full Sun, Partial Sun |
| Season of Interest | Spring (Early, Mid, Late), Summer (Early), Winter |
| Height | 1' - 3' (30cm - 90cm) |
| Maintenance | Low |
| Water Needs | Average |
| Soil Type | Loam, Sand, Chalk, Clay |
| Soil pH | Acid, Alkaline, Neutral |
| Soil Drainage | Moist but Well-Drained, Well-Drained |
| Characteristics | Showy |
| Tolerance | Deer, Drought, Rabbit |
| Landscaping Ideas | Beds And Borders, Patio And Containers |
Create a membership account to save your garden designs and to view them on any device.
Becoming a contributing member of Gardenia is easy and can be done in just a few minutes. If you provide us with your name, email address and the payment of a modest $25 annual membership fee, you will become a full member, enabling you to design and save up to 25 of your garden design ideas.
Join now and start creating your dream garden!