Nippon Daisy, Montauk Daisy, Leucanthemum nipponicum, Chrysanthemum nipponicum
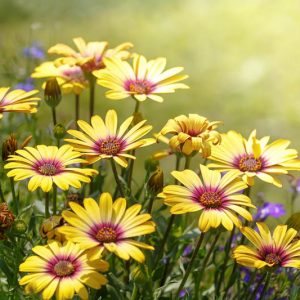
Nippon Daisy (Nipponanthemum nipponicum) is a perennial flowering plant native to the coastal regions of Japan, where it can be found growing on cliffs and rocky shorelines. It is a member of the Asteraceae family and is sometimes referred to as Montauk Daisy or Japanese Chrysanthemum.
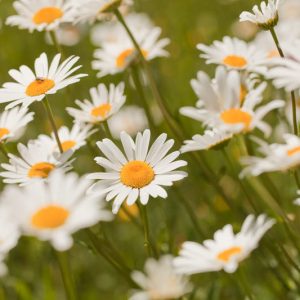
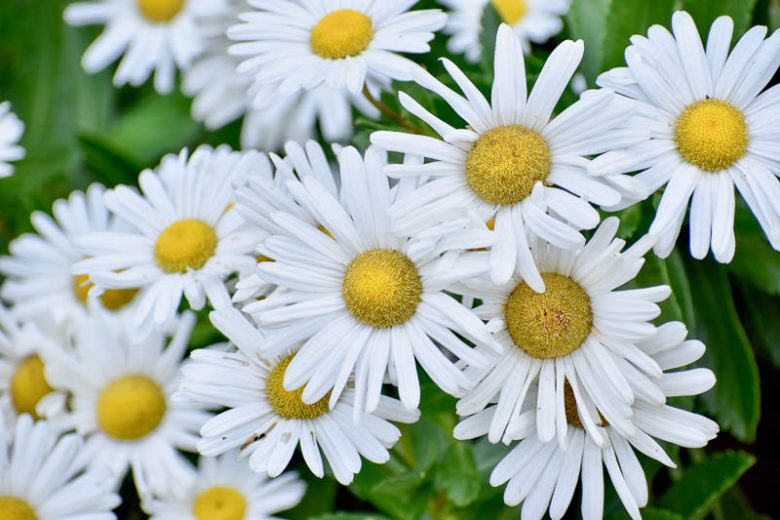
Description: Nippon Daisy features dark green, glossy, leathery leaves that are coarsely toothed and have a slightly succulent appearance. The plant has a bushy growth habit with sturdy, woody stems.
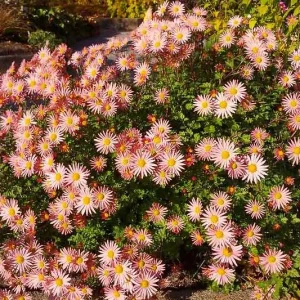
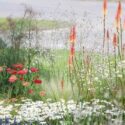
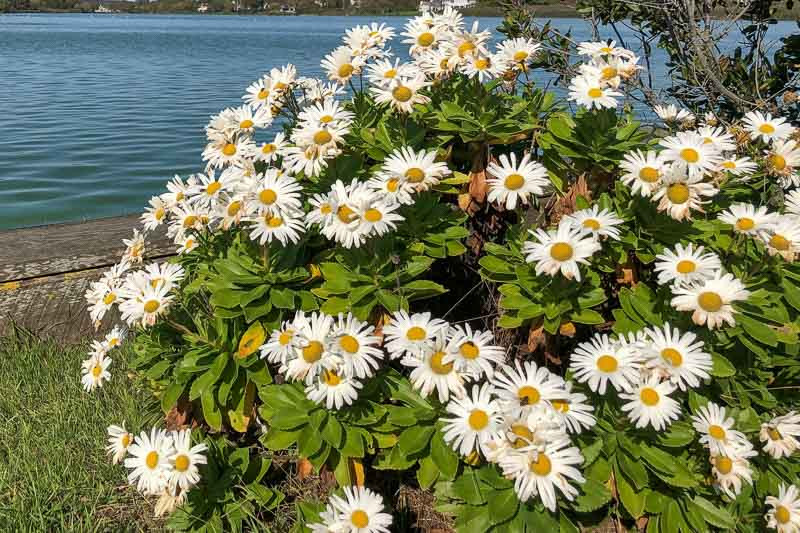
Native Growth Habit: Nippon Daisy is well-adapted to coastal environments and can tolerate salt spray, making it a suitable plant for seaside gardens.
Size: This plant typically grows to a height of 18-36 inches (45 to 90 cm) and has a similar spread, forming a mounded clump.
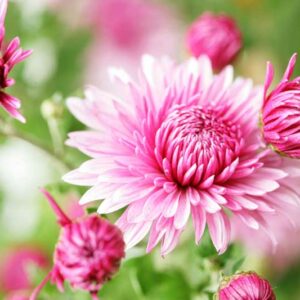
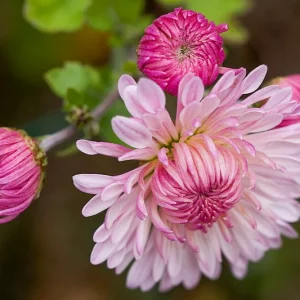
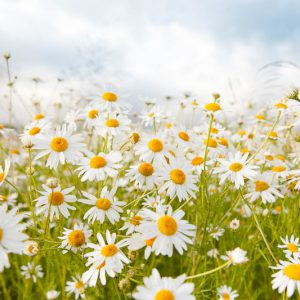
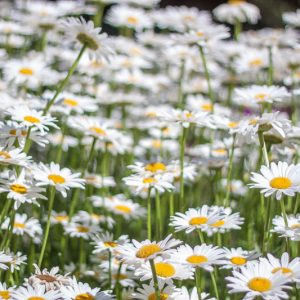
Flowers: Nippon Daisy produces large, showy, white flowers with bright yellow centers. Each flower can measure up to 2 to 3 inches (5 to 7.5 cm) across, consisting of numerous ray florets surrounding a central disk.
Blooming Season: The plant typically blooms from late summer through fall, providing color and interest when many other plants are starting to fade.
Hardiness: Nippon Daisy is hardy in USDA zones 5 through 9. It can tolerate cold temperatures down to -20°F (-29°C) when well-established.
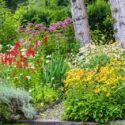
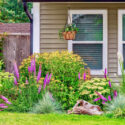
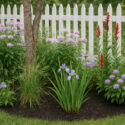
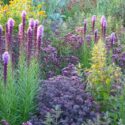
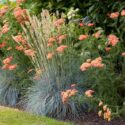
Uses: Nippon Daisy is a popular choice for perennial borders, rock gardens, coastal gardens, or as a low-maintenance landscape plant. Its flowers also make attractive cut flowers for arrangements.
Deer and Rabbit Resistance: Montauk Daisy is considered to be deer and rabbit resistant due to its leathery leaves, which are less palatable to these animals.
There are several reasons why you should consider growing Nippon Daisies (Montauk Daisies) in your garden:
Late-season blooms: Nippon Daisies bloom from late summer to fall, adding color and interest to your garden when many other plants have finished flowering.
Attractive flowers: The large, showy white flowers with bright yellow centers make a striking display and can be used as cut flowers in arrangements.
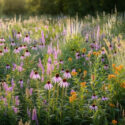
Pollinator-friendly: Nippon Daisies attract a variety of pollinators, including bees, butterflies, and other beneficial insects, promoting a healthy and biodiverse garden ecosystem.
Low maintenance: These plants are relatively easy to care for, requiring minimal upkeep once established. They are also deer and rabbit resistant, making them a good choice for gardens with wildlife challenges.
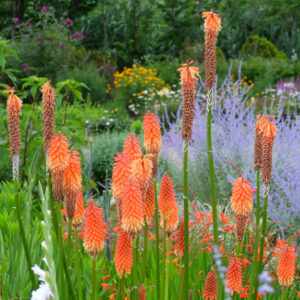
Coastal garden suitability: Nippon Daisies are well-adapted to coastal environments and can tolerate salt spray, making them an excellent choice for seaside gardens.
Drought tolerance: Nippon Daisies are drought-tolerant once established, making them suitable for xeriscaping or water-wise gardening.
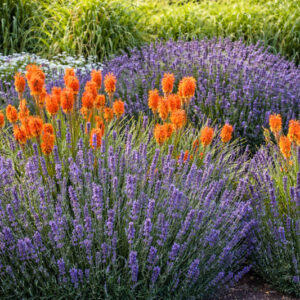
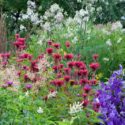
Versatility: Montauk Daisies can be used in a variety of garden settings, including perennial borders, rock gardens, and mixed landscape plantings.
Hardy and adaptable: Nippon Daisies are hardy in USDA zones 5 through 9 and can tolerate a range of soil types, provided they have good drainage.
Overall, Nippon Daisies are an attractive, low-maintenance, and versatile choice for adding late-season color and pollinator-friendly plants to your garden. Their adaptability to various conditions and resistance to deer and rabbits make them a practical addition to many landscapes.
The best time to plant Nippon Daisies is in spring or early fall when the soil temperatures are moderate, and there is sufficient time for the plants to establish before extreme weather sets in.
Sunlight: Choose a location in your garden that receives full sun for at least 6 to 8 hours per day, as Nippon Daisies require plenty of sunlight for optimal growth and flowering. Nippon Daisies tolerate light shade in hot climates.
Soil: Ensure the planting site has dry, well-drained soil, as these plants are susceptible to root rot in poorly drained conditions. They can tolerate a range of soil types, including sandy and loamy, as long as there is good drainage.
Nippon Daisy is a relatively low-maintenance plant, but to keep it healthy and thriving, follow these care tips:
Watering: This plant has a preference for well-drained soil and exhibits considerable drought tolerance, so it typically doesn’t require much additional watering beyond natural precipitation. If your region experiences a prolonged drought and the plant begins to show signs of wilting, provide supplemental water.
Fertilizing: Nippon Daisies do not require heavy fertilization. An annual application of compost or well-rotted manure around the base of the plant should provide sufficient nutrients. Alternatively, you can use a slow-release granular fertilizer or a balanced liquid fertilizer, following the package instructions.
Pruning: Prune your Nippon Daisies in early spring, cutting back the stems to about 6 inches (15 cm) above the ground to encourage bushy growth and prevent the plant from becoming leggy. Throughout the growing season, you can deadhead spent flowers to encourage continuous blooming and maintain a tidy appearance.
Mulching: Apply a layer of organic mulch, such as shredded bark or compost, around the base of the plant to help conserve soil moisture, suppress weeds, and regulate soil temperature. Keep the mulch a few inches away from the stem to prevent moisture buildup and potential rot.
Pest and disease control: Nippon Daisies are generally pest and disease-resistant. However, they may occasionally be affected by common garden pests, such as aphids or spider mites. Monitor your plants regularly, and if you notice an infestation, treat it with insecticidal soap or other appropriate measures. To prevent fungal diseases, ensure proper air circulation and avoid overhead watering, which can create a damp environment conducive to fungal growth.
By following these care tips, you can keep your Nippon Daisies healthy and ensure that they continue to produce beautiful flowers year after year.
There are two main methods for propagating Nippon Daisies (Montauk Daisies): stem cuttings and division. Here’s a step-by-step guide for each method:
Using either of these methods, you can propagate Nippon Daisies and expand your collection or share them with friends and family.
| Hardiness |
5 - 9 |
|---|---|
| Plant Type | Perennials |
| Plant Family | Asteraceae |
| Genus | Chrysanthemum, Leucanthemum |
| Exposure | Full Sun |
| Season of Interest | Summer (Late), Fall |
| Height | 1' - 3' (30cm - 90cm) |
| Spread | 1' - 3' (30cm - 90cm) |
| Spacing | 24" - 36" (60cm - 90cm) |
| Maintenance | Low |
| Water Needs | Low |
| Soil Type | Loam, Sand |
| Soil pH | Acid, Alkaline, Neutral |
| Soil Drainage | Well-Drained |
| Characteristics | Cut Flowers, Showy |
| Tolerance | Drought, Deer, Salt, Rabbit, Dry Soil |
| Attracts | Bees, Butterflies |
| Garden Uses | Beds And Borders |
| Garden Styles | Coastal Garden, Informal and Cottage |


Christina Duarte, Joe Trentacosti, Shutterstock
| Hardiness |
5 - 9 |
|---|---|
| Plant Type | Perennials |
| Plant Family | Asteraceae |
| Genus | Chrysanthemum, Leucanthemum |
| Exposure | Full Sun |
| Season of Interest | Summer (Late), Fall |
| Height | 1' - 3' (30cm - 90cm) |
| Spread | 1' - 3' (30cm - 90cm) |
| Spacing | 24" - 36" (60cm - 90cm) |
| Maintenance | Low |
| Water Needs | Low |
| Soil Type | Loam, Sand |
| Soil pH | Acid, Alkaline, Neutral |
| Soil Drainage | Well-Drained |
| Characteristics | Cut Flowers, Showy |
| Tolerance | Drought, Deer, Salt, Rabbit, Dry Soil |
| Attracts | Bees, Butterflies |
| Garden Uses | Beds And Borders |
| Garden Styles | Coastal Garden, Informal and Cottage |
How many Nipponanthemum nipponicum (Nippon Daisy) do I need for my garden?
| Plant | Quantity | |
|---|---|---|
| Nipponanthemum nipponicum (Nippon Daisy) | N/A | Buy Plants |
Create a membership account to save your garden designs and to view them on any device.
Becoming a contributing member of Gardenia is easy and can be done in just a few minutes. If you provide us with your name, email address and the payment of a modest $25 annual membership fee, you will become a full member, enabling you to design and save up to 25 of your garden design ideas.
Join now and start creating your dream garden!