How to Espalier, Best Camellias for Espaliers
Ideal for decorative purposes, espalier is an artistic and ancient practice of training trees, shrubs, and woody vines by pruning and tying their branches to a frame, flat against a wall, fence, or trellis. Used in France for centuries, particularly with pear and apple trees, this technique is also ideal for small gardens, making it possible to fit a large camellia into a limited space. Espaliers are also a great way to add beauty and elegance to dull walls and austere fences.
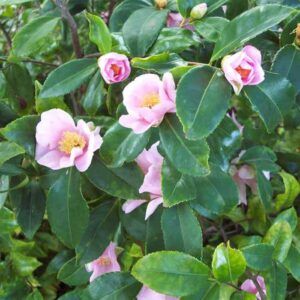
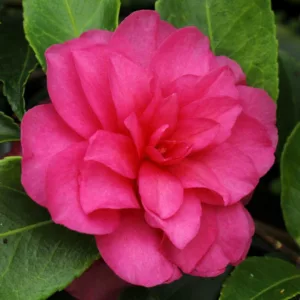
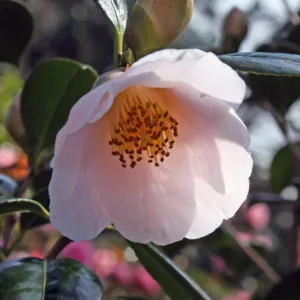
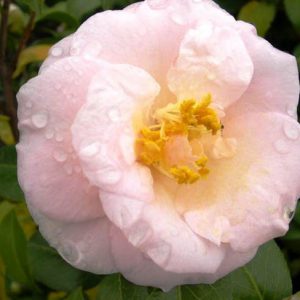
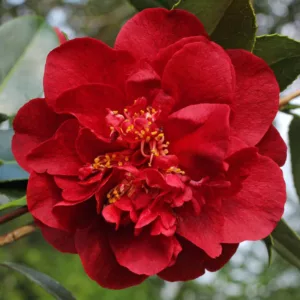
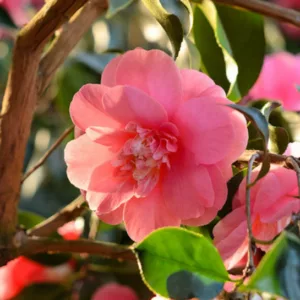
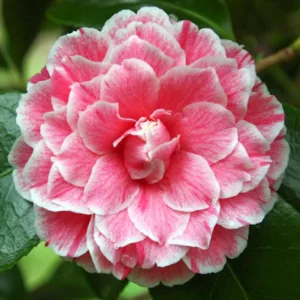
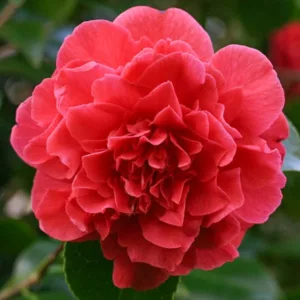
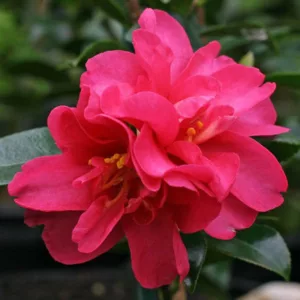
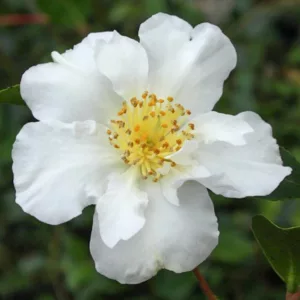
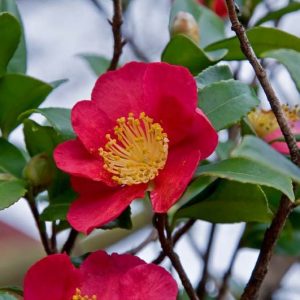
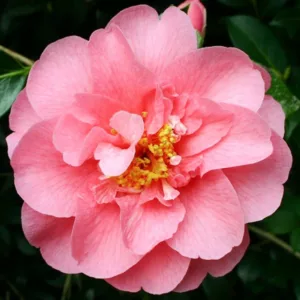
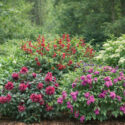
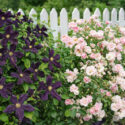
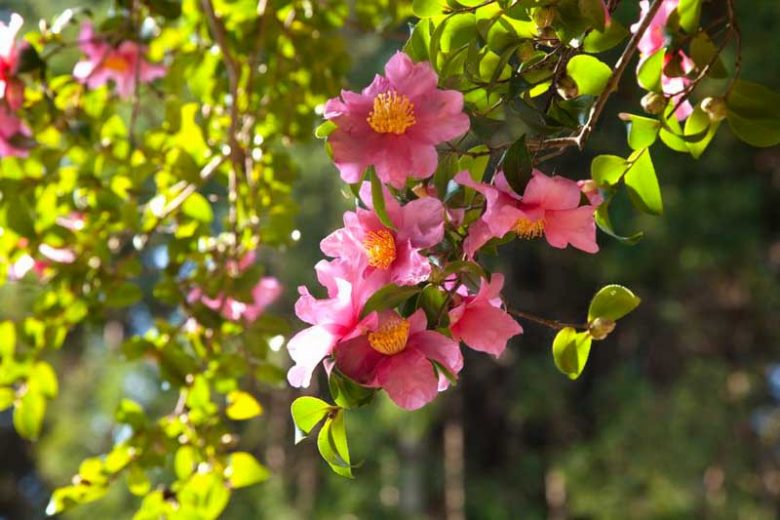
Cherished for their masses of magnificent flowers and their luxuriant, evergreen foliage, Camellias make gorgeous blooming espaliers. They provide lush beauty year-round and then burst with profuse, pink, white, or red blooms for weeks from fall to spring (depending on climate and variety), rewarding gardeners with exquisite flowers of striking shapes and color at a time of year when the rest of the garden offers little.
Although most camellias can be trained as an espalier, the fast-growing and sun-tolerant camellia sasanqua varieties, particularly those naturally pendulous, are the plants of choice for espaliers.
Some espalier patterns are very formal, with limbs pruned into a specific shape. Others are more informal, leaving the limbs to follow a natural form to create whimsical serpentines or naturalized free-form designs.
Camellias can be espaliered onto walls. However, this technique doesn’t always provide good air circulation and promotes diseases. Plants growing too close to walls can also suffer from heat stress. Build a wire or wooden framework to support your camellia in this situation.
Training your camellia should be a simple process.
Creating an espalier is time-consuming and requires patience but is worth the result – a fabulous botanical sculpture that will reward you each year with a gorgeous floral display.
| Hardiness |
7 - 9 |
|---|---|
| Heat Zones |
7 - 8 |
| Climate Zones | 4, 5, 6, 7, 8, 9, 12, 14, 15, 16, 17, 18, 19, 20, 21, 22, 23, 24 |
| Plant Type | Shrubs |
| Genus | Camellia |
| Exposure | Full Sun, Partial Sun, Shade |
| Season of Interest | Spring (Early, Mid, Late), Fall, Winter |
| Maintenance | Low |
| Water Needs | Average |
| Soil Type | Clay, Loam, Sand |
| Soil pH | Acid, Neutral |
| Soil Drainage | Moist but Well-Drained, Well-Drained |
| Characteristics | Cut Flowers, Fragrant, Showy |
| Landscaping Ideas | Wall-Side Borders, Walls And Fences |
| Garden Styles | City and Courtyard, Informal and Cottage, Japanese Garden, Traditional Garden |
Picture courtesy of: / 123RF Stock Photo
| Hardiness |
7 - 9 |
|---|---|
| Heat Zones |
7 - 8 |
| Climate Zones | 4, 5, 6, 7, 8, 9, 12, 14, 15, 16, 17, 18, 19, 20, 21, 22, 23, 24 |
| Plant Type | Shrubs |
| Genus | Camellia |
| Exposure | Full Sun, Partial Sun, Shade |
| Season of Interest | Spring (Early, Mid, Late), Fall, Winter |
| Maintenance | Low |
| Water Needs | Average |
| Soil Type | Clay, Loam, Sand |
| Soil pH | Acid, Neutral |
| Soil Drainage | Moist but Well-Drained, Well-Drained |
| Characteristics | Cut Flowers, Fragrant, Showy |
| Landscaping Ideas | Wall-Side Borders, Walls And Fences |
| Garden Styles | City and Courtyard, Informal and Cottage, Japanese Garden, Traditional Garden |
Create a membership account to save your garden designs and to view them on any device.
Becoming a contributing member of Gardenia is easy and can be done in just a few minutes. If you provide us with your name, email address and the payment of a modest $25 annual membership fee, you will become a full member, enabling you to design and save up to 25 of your garden design ideas.
Join now and start creating your dream garden!